| wcg112233 | 2017-11-06 10:16 | |||||||||||||||
这个披萨不用烤箱,不用披萨皮,做起来十分方便。十分美味,营养丰富。从网上学来,自己做了几次,真心很好吃!
1、准备好所有食材。  2、培根、洋葱、青红椒分别切成细丝,香葱切段。  3、鸡蛋磕入碗中,加入几粒盐,搅拌均匀。 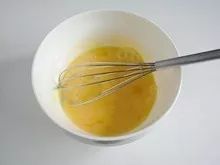 4、加入少许面粉搅拌成无颗粒的蛋糊。  5、不粘锅刷一层薄油,开小火,倒入全部蛋糊,铺平锅底。  6、大概40秒以后,把火关掉,在蛋糊面上轻轻铺上培根丝。  7、接着铺上青红椒丝、洋葱丝。 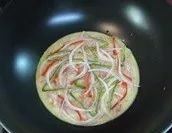 8、最后铺上切好的奶酪丝。 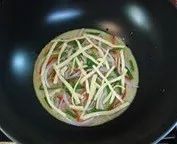 9、盖上盖子,继续开起小火,闷2—3分钟左右。 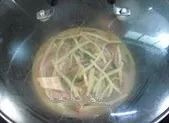 10、打开锅盖,奶酪条融化,轻轻晃动锅,饼会自己脱离锅身即可。  11、盛出装盘 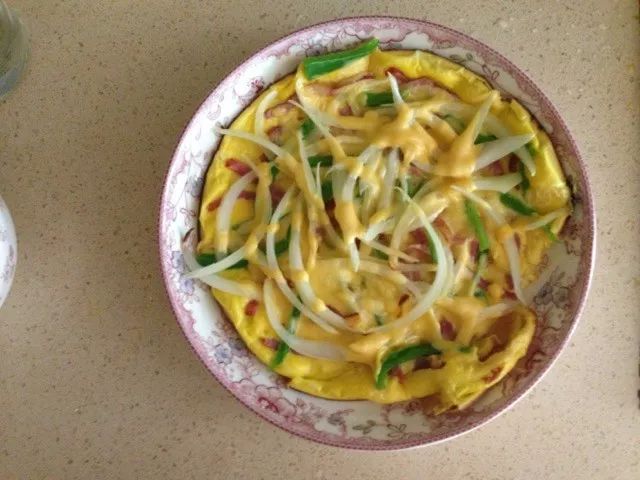 12、也可以切块  小贴士 1、搭配的蔬菜可以根据自己喜欢,但最好是易熟的。建议加培根,味道特别好。 2、培根是咸的,奶酪也是含盐奶酪(有的是无盐奶酪),所以馅料里不用加盐。 3、在蛋糊下锅40秒左右的时候,底部已经凝固了,此时便可以开始铺馅料,建议把火关了,以免动作不熟练,还没铺好,蛋饼已完全熟了 |
||||||||||||||||